Vue——vue3视图命名写法
7/11/2026
文章链接:https://blog.csdn.net/qq_43201350/article/details/127202749
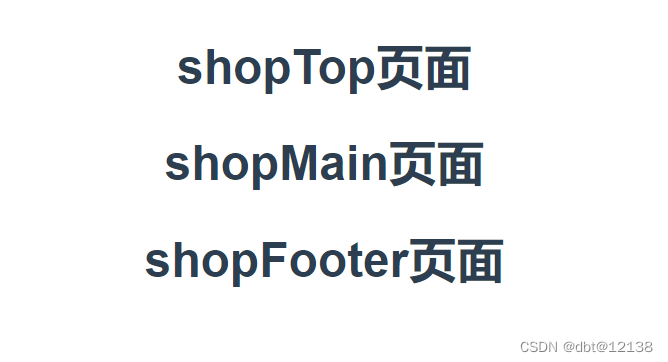
命名视图:一个页面中可显示多个组件进行渲染
router\index.js 路由配置文件
import { createRouter, createWebHashHistory } from 'vue-router'
import top from '../components/top.vue'
import main from '../components/main.vue'
import footer from '../components/footer.vue'
// 定义一些路由
const routes = [
{
path: '/shop',
components:
{
default: top,
main: main,
footer: footer
}
}
]
// 创建路由实例并传递 `routes` 配置
const router = createRouter({
// 内部提供了 history 模式的实现。为了简单起见,我们在这里使用 hash 模式。
history: createWebHashHistory(),
routes, // `routes: routes` 的缩写
})
export default routertop.vue
<template>
<h1>top页面</h1>
</template>main.vue
<template>
<h1>main页面</h1>
</template>footer.vue
<template>
<h1>footer页面</h1>
</template>App.vue
<template>
<!-- 路由出口 -->
<!-- 路由匹配到的组件将渲染在这里 -->
<router-view></router-view>
<router-view name="main"></router-view>
<router-view name="footer"></router-view>
</template>main.js
import { createApp } from 'vue'
import App from './App.vue'
import './index.css'
import router from './router'
let app = createApp(App)
// 使用路由
app.use(router)
app.mount('#app')
使用:
在浏览器中输入http://localhost:3000/#/shop
显示效果:页面中直接显示三个组件